![[Oak Picture Frame]](images/wood1.jpg)
Steve's Woodworking
I like to work with wood. It helps that my dad has a sawmill in Western Pennsylvania, and has a knack for finding me unique pieces of wood. I work mostly with red and white oak, black cherry, and maple. I have a few pieces of yellow birch and poplar too.
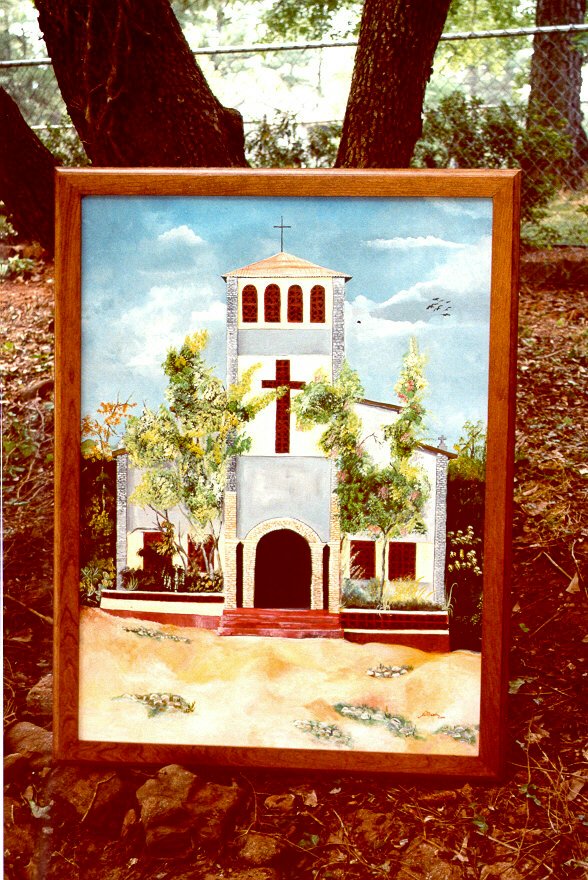
Oak Picture Frame
I picked up a "dubby" cutoff jig at a local wood show so that I could make picture frames with ease. It still takes time and patience, but at least I can cut the 45 degree angles accurately. I like to make large picture frames because they are easier and it saves me money. Here is an oak frame that I stained with red oak stain. I use acrylic instead of glass in large frames because of the weight difference, and it's less expensive.
![[Oak Thimble Shelf]](images/wood2.jpg)
Thimble Shelf
I wanted to make a Christmas present for my wife, and a neighbor suggested making a thimble shelf. She had a photo from a magazine, and so I drew up some plans based on the photo. This is one of those projects that shouldn't be cut out in advance - you almost have to custom cut each piece based on the exact width of the wood. If you look closely, you can see the gaps - since I cut most of it out in advance. It is supposed to have 4" x 4" needlepoint art in the middle. I made it from oak, and finished it with Tung Oil and carnuba wax. That is my favorite finish because it is easy, natural looking, and pretty.
![[Oak Book Shelf]](images/wood3.jpg)
Oak Book Shelf
One of my first fine furniture pieces. I worked on this using tools at my friend Kevin's shop. I didn't have a table saw, planer, or router at the time. By the time I finished it, I had a table saw, a planer, and router. I came up with the design for this shelf based on some shelves I had seen. The sides, top, bottom, and shelves are made from joined (biscuit) boards. The back is made from a piece of ¼" oak plywood. The face frame is biscuit joined also. Did I mention I got a biscuit joiner too? The shelves are adjustable. It is finished with high gloss polyurethane.
![[Oak Picture Frame]](images/wood4.jpg)
Oak Picture Frame
Occasionally I get asked by my church or scout troop to make a picture frame for them. This picture was consigned to be built for my church. It is a lithograph of a painting of Jimmy Carter's Tools. They wanted the frame to be plain, and made from something like oak. So I made my standard 3" wide from from ¾" oak, with a 3/8" rabbet along the inside to handle the backing and the glass. Actually, I didn't use glass, I used acrylic. I have a list of steps that I follow when I make frames. I use 3" boards because I also biscuit joint the joints, and 3" boards work well for the 2" biscuits.
![[Maple Butcher Block]](images/wood5.jpg)
Maple Butcher Block
I wanted to make a Christmas gift for my wife, and she had mentioned wanting a butcher block. So I scoured my woodworking magazines and free plans that I had downloaded from the internet (Wood Magazine), and found this plan that looked easier than the others that I had. It also looked small enough to fit in our kitchen. My dad had given me a load of maple which had dried nicely. I made the top in three sections, just like the plan suggested. Then I tried to plane them with my planer. Bad idea for hard maple. It chipped. I have been told since that I should have wet the surface prior to planing, and that would have eliminated the chipping. I also had a buddy who has a sanding planer, but the damage (although minor) was done. I filled it in with chips, sawdust, and glue. I had to get a drill-press mounted mortise machine (Delta) which worked very well for the joints. I had a hard time finding the table top clips, but eventually found them at Highland Hardware. All in all a fun project to build, and it looks good too. I finished the piece with some Salad Bowl finish that I found at Highland Hardware.
![[Cherry Play Table]](images/wood6.jpg)
Cherry Play Table with a Melamine Top
This was a Christmas present for my son. He loves trains, and wanted a Thomas the Tank Engine table to lay out the wooden track. It cost around $200, and was not built very solid. I sketched out a simple and solid design, and built this table over the course of a couple weeks. The hardest part was the edging for the melamine. It is tongue and grooved. I routed a tongue in the melamine using an edging jig on my router - first routing the topside and then routing the bottom side. I cut the groove in the cherry trip using my table saw (I only have a wobble dado head, so I normally cut dado cuts using multiple passes with my standard Woodworker II 10" blade). I finished the piece with a couple of coats of satin polyurethane.
Cherry Picture Frame
Here was another consigned piece for church. It is made from 2" cherry, and uses splines instead of my usual biscuit joints. I also routed the edges with a roundover bit. In the process, some of the wood chipped out. What can you do when the piece is complete? I glued in the chipped piece, and added sawdust and glue to cover up the crack, and then routed over it again when it was dry. Some of the original routing on the cherry left burn marks, and so I tried to sand them out. Some burn marks remained, so I stained it a cherry color. I finished it in satin polyurethane.
Page created by The Karg Family using Intel's aedit or Notepad.
Photos Copyright (c) 1999-2002 by The Karg Family